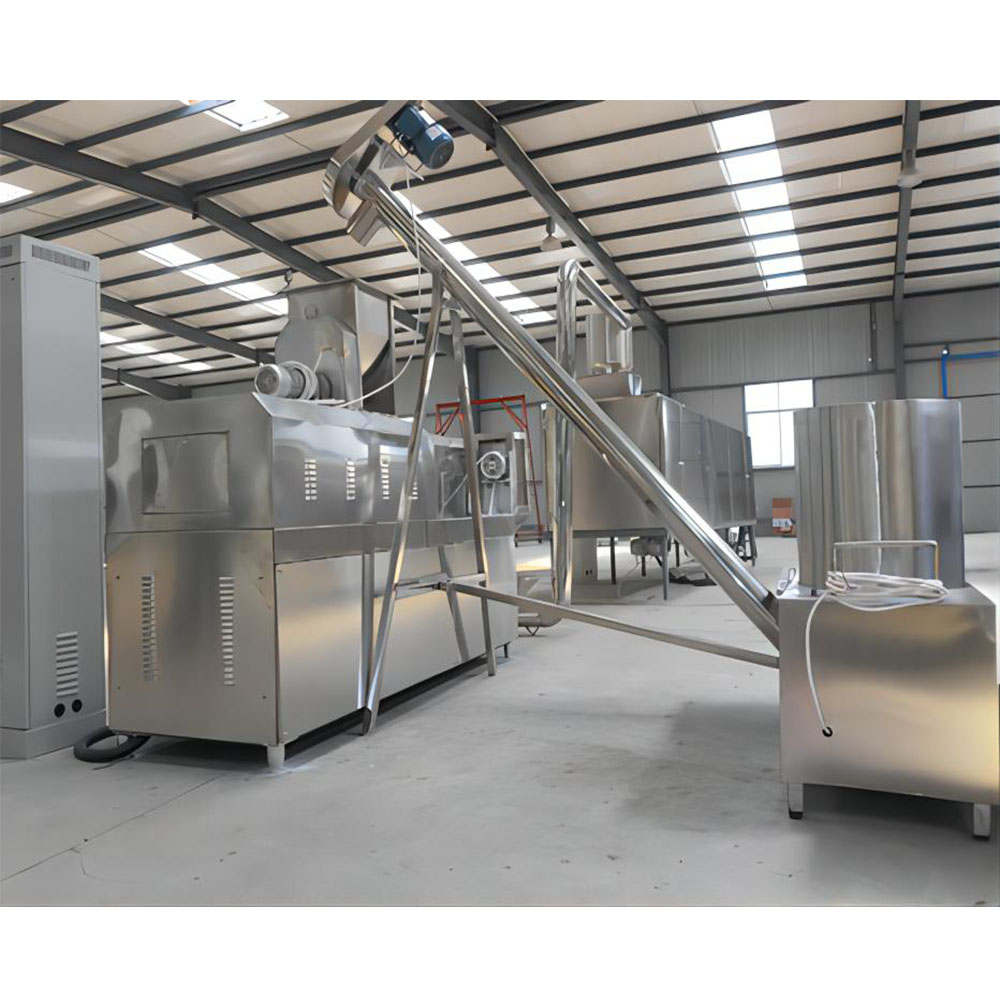
Dough Mixer Motor Overheating: Field Diagnosis Guide
If you are reading this, your DKM-001 spiral mixer or FLM-001 fork mixer has likely tripped its thermal overload for the second time this week, and production is breathing down your neck. Before you pull the motor and send it out for a rewind — which on a 15 kW Siemens shaft averages 9 to 14 days and $1,800 to $2,600 — run through this guide. In roughly 80 percent of the overheating callouts I have answered on snack and bakery lines over the past decade, the motor is the victim, not the culprit. The real cause sits upstream: dough hydration, batch weight, mixing time, or a bowl scraper that has drifted 4 mm out of alignment and is quietly loading the shaft every revolution.
This guide assumes you have a clamp meter, an infrared thermometer, a dough thermometer, and 30 minutes. It is written in the order I work a callout — symptoms first, then root causes from most common to least common, then a diagnostic table you can hand to a junior tech. The keyword here is dough mixer overheating, and the goal is simple: keep the motor winding temperature below the 155 °C Class F insulation limit and the bearing housings below 75 °C, shift after shift.
What Are the Symptoms? Confirm You Actually Have an Overheating Problem
- Motor housing above 85 °C measured with an IR thermometer at the stator midpoint after a 12-minute mixing cycle
- Bearing end bell above 75 °C at the drive end, or above 70 °C at the non-drive end
- Thermal overload in the starter panel trips intermittently, usually on the second or third batch of a shift, then resets after 15 to 25 minutes
- Burning varnish smell near the terminal box, or discoloration on the winding visible through the intake screen
- Inline ammeter on phase L2 reads 28 A or higher on a 15 kW / 400 V motor when the dough reaches final development
- Bowl slows visibly in the last two minutes of the cycle, sometimes accompanied by a low growl from the gearbox
- Circuit breaker trips at peak absorption, not at startup — a critical distinction from a short-circuit fault
If you tick four or more, proceed to the root-cause sections below. If you tick only the breaker trip and nothing else, go straight to Section 6 on electrical supply, because you likely have a phase imbalance, not a mechanical load problem.
What Causes Dough Hydration Too Low (62 Percent or Below for Bread Lines)?
This is the single most common cause of dough mixer overheating on snack and bread lines, and it accounts for roughly 35 percent of all callouts. A stiff dough — 58 to 61 percent hydration for a bread line, or below 35 percent for a cracker or biscuit line — converts the mixing bowl into a brake dynamometer. The motor does not know the dough is too stiff; it just pulls current to meet the torque demand, and that current becomes heat.
Diagnosis steps:
- Take a 200 g sample of dough at the end of the mixing cycle and weigh it. Dry it in a proofing oven at 105 °C for 6 hours, or use a moisture analyzer if you have one.
- Calculate actual hydration: (water weight / flour weight) x 100. For a standard bread dough on a DKM-001, target 64 to 66 percent. For a hard biscuit on an FLM-001, target 28 to 32 percent.
- Compare against the recipe sheet taped inside the panel door. If the actual hydration is two points or more below target, you have found your problem.
- Cross-check with the motor ammeter. A bread dough mixed at 60 percent hydration on a 15 kW DKM-001 will pull 27 to 30 A at peak development. The same dough at 65 percent hydration will pull 21 to 23 A.
Fix: Recalibrate the water dosing meter. Most inline magnetic flow meters on snack lines drift low by 1.5 to 3 percent per quarter as the tube walls accumulate starch film. Pull the meter, clean it with a 2 percent citric acid flush, and verify against a calibrated bucket. If the recipe itself was written for a different flour — common when mills change wheat lots in July and November — raise the batch water by 1.5 to 2 percent and re-run. Document the change on the batch sheet so the next shift does not revert it.
What Causes Batch Size Over the Rated Capacity?
Every mixer has a rated flour weight, not a rated dough weight. The DKM-001 spiral mixer is rated for 120 kg of flour per batch, which at 65 percent hydration yields roughly 198 kg of dough. Operators under production pressure routinely add a 10th or 12th bag of flour to clear the order faster, pushing the batch to 130 or 140 kg. The motor does not fail on the first overloaded batch. It fails on the four-hundredth.
Diagnosis steps:
- Watch the operator load the next three batches. Count the 25 kg flour bags. Anything above 4 bags on the 120 kg rated DKM-001 is over capacity.
- Check the load cell readout on the platform scale if fitted. Compare against the rated capacity stamped on the machine data plate.
- Measure peak amperage at the start of the second mixing phase — typically 4 to 6 minutes into the cycle, when gluten development peaks. A correctly loaded DKM-001 peaks at 22 to 24 A. An overloaded batch peaks at 28 to 32 A and holds there for the remainder of the cycle.
- Check the gearbox oil temperature. An overloaded batch will push the gearbox sump above 70 °C within 15 minutes, while a correctly loaded batch stabilizes at 55 to 60 °C.
Fix: This is a discipline problem, not a mechanical one. Print the rated capacity on a label and laminate it to the bowl rim. Install a barrel limit switch on the flour dosing hopper if the budget allows — about $480 on most retrofit kits. If production genuinely needs more throughput, the answer is a second mixer or a larger model, not an extra bag of flour. I have written off three motors in my career that failed solely because a shift supervisor ran 135 kg batches for six weeks straight.
What Causes Mixing Time Extended Beyond Gluten Development Window?
Mixing time is not a free variable. Once gluten reaches full development — which on a 65 percent bread dough in a DKM-001 is 11 to 13 minutes at the standard 100 rpm spiral speed — every additional minute is pure energy dumped into the dough as heat, and into the motor as current. Operators extend mixing time for two reasons: the dough looks rough, or the dough temperature came in too low and they are trying to warm it up by friction. Both are wrong responses.
Diagnosis steps:
- Pull the PLC mixing time log for the last 50 batches. Anything over 13 minutes total mixing time on a bread line is suspect. Anything over 16 minutes is a definite problem.
- Measure dough temperature at the end of mixing. Target is 24 to 26 °C for most bread doughs. If the dough is at 30 °C or higher, the cycle was too long.
- Run a windowpane test on the dough at 11 minutes. If the gluten film is already thin and translucent without tearing, additional mixing time is doing damage, not development.
- Compare spiral speed against the nameplate. Some lines have been re-geared to 120 or 130 rpm to shave cycle time, which raises the development peak current by 12 to 18 percent.
Fix: Lock the mixing time in the PLC recipe with a password. Train the operator to take dough temperature, not mixing time, as the adjustment variable. If the dough comes in cold — below 22 °C — the correct response is warmer ingredient water (28 to 30 °C), not an extra four minutes on the mixer. Friction factor calculations exist for exactly this reason: for a DKM-001, plan on roughly 0.4 °C of dough temperature rise per minute of mixing at standard speed.
What Causes Bowl Scraper Out of Alignment?
This is the silent killer of mixer motors. The PTFE or nylon bowl scraper on a DKM-001 is designed to ride 1.5 to 2.5 mm from the inner wall of the bowl. When it drifts inward — typically because the mounting arm was bent during a deep clean, or the adjustment bolt backed out from vibration — the scraper plows into the dough instead of folding it. The motor sees this as a constant parasitic load, day in and day out.
Diagnosis steps:
- Shut down and lock out the machine. Rotate the bowl by hand to the 12 o’clock position. Insert a feeler gauge between the scraper edge and the bowl wall. Anything under 1.0 mm is too tight.
- Inspect the scraper edge for uneven wear. A correctly aligned scraper wears evenly across its 80 mm width. A misaligned scraper wears a taper, with one end 3 to 4 mm thinner than the other.
- Look for dough build-up on the back of the scraper — the side facing the bowl wall. This indicates the scraper is pressing into the wall hard enough to squeeze moisture out of the dough.
- Run a no-load cycle with an empty bowl. The ammeter should read 6 to 9 A on a 15 kW DKM-001. If it reads 11 to 14 A on an empty bowl, the scraper is dragging.
Fix: Loosen the two M8 cap screws on the scraper mount, set the gap to 2.0 mm with a feeler gauge at three points across the scraper width, and torque to 18 Nm. Check the scraper arm for straightness with a straightedge — any bow over 1.5 mm means the arm needs to be straightened or replaced. Re-check the gap weekly as part of the preventive maintenance round, because the scraper always drifts inward over time, never outward.
What Causes Gearbox Oil Degraded or Underfilled?
The gearbox on a DKM-001 holds roughly 3.8 liters of ISO VG 220 industrial gear oil. When the oil breaks down — usually after 4,000 operating hours or 18 months, whichever comes first — the gear faces run metal-on-metal, and the heat soaks back through the output shaft into the motor housing. The motor takes the blame for a problem that started two feet away in the gearbox.
Diagnosis steps:
- Pull the gearbox dipstick with the machine off and level. Oil level should sit between the two marks. Below the lower mark, you have a leak or a fill problem.
- Draw a 50 ml sample from the drain valve. New ISO VG 220 oil is amber and clear. Oil that is dark brown, milky (water contamination), or smells of burnt varnish needs to be changed immediately.
- Run the gearbox for 15 minutes under load, then measure the sump temperature at the drain plug. Above 75 °C is failure territory. Above 85 °C means the oil film has collapsed and gear damage is likely already underway.
- Listen through a screwdriver held against the gearbox housing. A healthy gearbox hums at a steady pitch. A dry or damaged gearbox growls and clicks.
Fix: Drain the old oil — all 3.8 liters, not just what comes out easily. Flush with 1 liter of fresh ISO VG 220, refill to the upper dipstick mark. Inspect the magnetic drain plug for metal fines; a small smear of fine paste is normal, but chips or flakes mean the gear set needs inspection. Replace the breather plug if it is clogged, because a pressurized gearbox will push oil past the output shaft seal. Set the next oil change in the maintenance CMMS at the 4,000-hour mark, not on a calendar schedule.
What Causes Electrical Supply Voltage Imbalance or Undervoltage?
A three-phase motor on a 400 V supply will tolerate ±5 percent voltage variation. It will not tolerate voltage imbalance between phases. A 4 percent imbalance between L1, L2, and L3 — say 401 V, 398 V, 384 V — increases motor heating by roughly 40 percent, and the motor cannot defend itself against it. This problem often appears after the utility changes a transformer tap, or after a new large load is added elsewhere in the plant on the same feeder.
Diagnosis steps:
- With the mixer running under load, measure all three phase-to-phase voltages at the starter panel: L1-L2, L2-L3, L1-L3. Calculate the imbalance: ((max deviation from average) / average) x 100. Anything above 2 percent is a problem. Above 3 percent is an emergency.
- Measure all three phase currents. A healthy motor pulls within 5 percent across phases. A 12 A reading on L1, 13 A on L2, and 18 A on L3 is a definite phase imbalance fault.
- Check for voltage drop under startup inrush. If line voltage sags from 400 V to 360 V during the 4-second startup ramp, the feeder cable is undersized or a connection is loose.
- Inspect the contactor tips for pitting. A 200 A-rated contactor that has been arcing for a year will drop 8 to 15 V across one phase, which is enough to cause the imbalance above.
Fix: If the imbalance is in the plant feed, call the utility — they will re-tap the transformer or rebalance loads. If the imbalance is inside the panel, replace the contactor and re-torque every bus bar connection to the manufacturer’s spec, typically 8 to 12 Nm on M8 lugs. If the supply voltage itself is chronically low (below 380 V), install a step-up autotransformer or, better, a power conditioner rated for the motor’s full-load current plus 25 percent headroom.
Diagnostic Quick Reference Table
| Symptom | Most Likely Cause | Confirm By | Target Fix |
|---|---|---|---|
| Motor trips thermal overload on 3rd batch, resets in 20 min | Batch overloaded by 10 to 15 percent | Count flour bags, check ammeter peaks 28 A+ | Reduce batch to rated 120 kg flour |
| Motor runs hot (90 °C+) but does not trip | Hydration two points or more below recipe | Moisture analyzer on dough sample | Recalibrate water meter, raise batch water 1.5 to 2 percent |
| Gearbox above 75 °C, motor above 85 °C simultaneously | Gearbox oil degraded or low | Dipstick, oil color, drain plug temperature | Drain, flush, refill 3.8 L ISO VG 220 |
| No-load amperage above 11 A on empty bowl | Bowl scraper dragging on wall | Feeler gauge, scraper edge inspection | Reset scraper gap to 2.0 mm, torque to 18 Nm |
| Phase current imbalance above 5 percent | Voltage imbalance or pitted contactor | DMM on phase-to-phase voltages under load | Replace contactor, re-torque lugs, call utility if feed imbalanced |
| Dough comes out of bowl at 31 °C+ | Mixing time over 15 minutes | PLC log, windowpane test at 11 minutes | Lock PLC recipe, use warmer ingredient water |
| Burning varnish smell, winding discolored | Winding insulation failing (Class F, 155 °C) | Megger test phase-to-ground at 500 V DC | Pull motor, send for rewind or replacement |
Frequently Asked Questions
What temperature should I worry about on the motor housing?
For a Class F insulated motor — which is what ships on every DKM-001 and FLM-001 — the winding insulation is rated to 155 °C continuously. By the time the housing reads 95 °C on an IR thermometer, the winding inside is sitting between 130 and 145 °C. You are close to the limit. At 105 °C on the housing, you are shortening winding life by roughly half for every additional 10 °C. Make 85 °C your action threshold and 95 °C your stop-and-investigate threshold.
How often should I check the gearbox oil on a dough mixer?
Check the dipstick weekly as part of the start-of-shift round. Sample the oil for visual inspection monthly. Change the oil every 4,000 operating hours or 18 months, whichever comes first. If your plant runs two shifts six days a week, that is roughly 4,000 hours in 10 months — so a calendar-based annual oil change will leave you running on spent oil for two months. Use operating hours, not the calendar.
Can I just install a bigger motor to stop the overheating?
You can, but it usually does not solve the problem. A 15 kW motor bolted to a gearbox designed for 15 kW will transmit whatever torque the larger motor produces straight into the gear teeth, the shaft keys, and the bowl bearings. If your batch is overloaded or your hydration is low, a 22 kW motor will simply move the failure point downstream — gearbox tooth pitting, broken output shaft, or a cracked bowl yoke. Fix the root cause first. Only then consider whether the machine is genuinely undersized for the product mix you are running.
Why does my mixer trip on the second batch but never the first?
Heat accumulation. The motor winding on the first batch starts cold, around 35 °C. After a 12-minute cycle and a 4-minute unload, the winding is at 95 to 110 °C. The second batch starts from that elevated baseline and pushes the winding past the thermal overload trip point around minute 8 or 9. If you can solve the underlying load problem — hydration, batch weight, scraper gap — the motor will recover enough between batches to survive a full shift. If you cannot, install a forced-air cooler on the motor intake or extend the inter-batch rest period to 10 minutes.
How tight should the bowl scraper be on a DKM-001?
2.0 mm clearance to the bowl wall, measured at three points across the scraper width with a feeler gauge. Anything tighter than 1.0 mm loads the motor. Anything looser than 3.5 mm leaves a streak of unincorporated flour against the bowl wall. Re-check weekly, because the scraper always drifts inward, and torque the M8 mounting bolts to 18 Nm with a calibrated wrench — not by feel.
Is it normal for the motor to pull 28 A during the final mix phase?
No. A correctly loaded DKM-001 on a 65 percent hydration bread dough peaks at 22 to 24 A at the glutening peak — usually minute 6 or 7 — and then settles to 19 to 21 A for the remainder of the cycle. If you are seeing 28 A sustained in the last three minutes, something is loading the shaft. Run the empty-bowl amperage check described in Root Cause 4 before doing anything else; if the empty bowl is 11 A or higher, you have found the problem.
When Should You Call for Field Support?
If you have worked through all six root causes and the motor is still tripping the thermal overload on every batch, or if the megger test shows winding insulation below 1.5 MΩ phase-to-ground at 500 V DC, you have a motor that needs to come out. Do not keep resetting the overload and running another batch — every reset-and-run cycle does additional damage to the insulation, and a motor that could have been saved with a $400 bearing change becomes a $2,600 rewind.
The most expensive dough mixer repair is the one you defer for a week. Motor overheating is the machine telling you, in the only language it has, that something upstream is wrong. Listen to it before the smoke does the talking.
If you want a second set of eyes on the problem, send the following to [email protected]: machine model and serial number, last three batch weights, mixing times, dough temperatures, motor amperage on all three phases under load, motor housing temperature, gearbox temperature, scraper gap measurement, and a photo of the data plate. We respond to field diagnosis requests within one business day, and we ship motors, gear sets, scrapers, and contactors worldwide from stock on the DKM-001 and FLM-001 platforms. Email [email protected] with your machine serial number and the symptoms above, and we will get a field engineer on the line.
Learn more: cooking oil processing applications
Get a quote: [email protected]