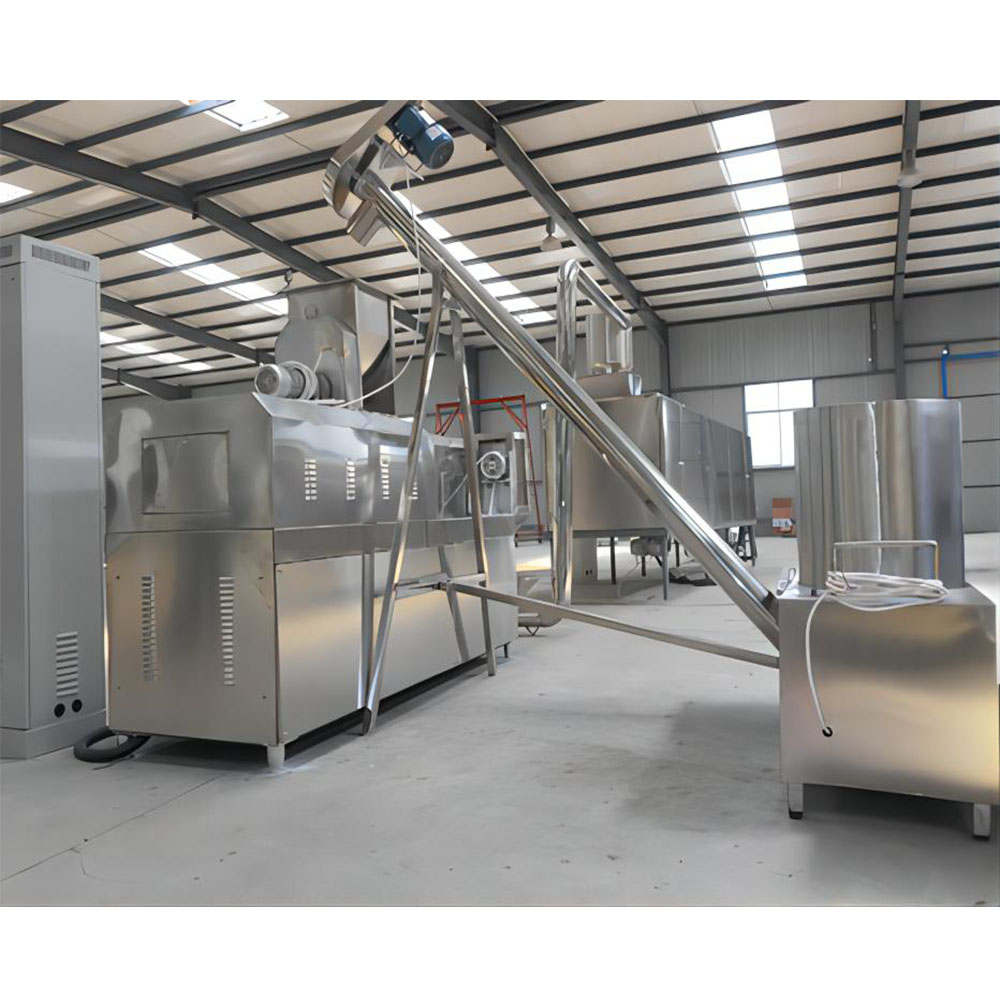
Frozen Meat Slicer Blade Chipping: Causes and Prevention
A chipped blade on a frozen meat slicer is one of the most expensive small problems a processing plant can have. The blade itself is cheap compared with the lost production time, the bone fragments that end up in the cut pieces, and the risk of a metal detector rejection on a full pallet. After servicing more than forty FMS-001 single-blade rotary frozen meat slicers across North America and Southeast Asia over the past six years, I have seen the same handful of root causes repeat at almost every site. This article walks through the diagnosis and the field-tested fixes, with the exact numbers I use on site. The keyword for this guide is frozen meat slicer blade damage, and if you operate a frozen block slicer of any brand — Urschel, Treif, Hobart, or the Esper Foodtech FMS-001 — the principles below still apply.
What Are the Symptoms? How To Know The Blade Is Chipping Before You Find The Fragments
Most operators do not see the chip happen. They see the downstream symptoms. Run through this checklist during the first ten minutes of a shift before any of the cut product leaves the slicer deck:
- Rough, torn, or fibrous cut surfaces on slices that should be clean — usually visible on the first five slices of a fresh block.
- A short, metallic “tic” sound from the cutting wheel roughly once per revolution — best heard with the safety cover open and the feed conveyor disengaged.
- A bright silver nick on the leading edge of the tooth profile, visible with a flashlight held at a low angle to the blade face.
- Slice weight variation greater than 7 percent across a 30-slice sample when the block temperature and feed rate have not changed.
- Metal detector trips on the discharge conveyor that were not happening the previous shift, especially on the first pallet after a blade change.
- Motor amperage spike of more than 15 percent above baseline when the blade first contacts the leading edge of the block.
- Visible hairline cracks in the kerf of the blade, usually within 5 mm of the gullet, when the blade is removed and inspected under 10x magnification.
If two or more of these are present, take the blade off the machine before running another block. Continuing to run a chipped blade will shed metal into the product and will also propagate the crack, turning a $180 sharpening issue into a $900 blade replacement.
What Causes Block Temperature Below -18°C Without A Pre-Warming Step?
This is the single most common cause on FMS-001 machines and on Treif Vulcan units as well. Frozen meat blocks are supposed to be sliced at between -12°C and -8°C at the core. When the core is below -18°C, the ice crystals in the muscle tissue become hard enough to behave like abrasive grit against the high-carbon steel cutting edge.
The diagnosis is simple. Take a calibrated probe thermometer — not an infrared gun, which only reads surface temperature — and drive it 75 mm into the center of the block. If the reading is below -16°C, you are outside the safe slicing window. The blade edge will micro-fracture within the first 30 to 50 blocks.
The fix is to add a controlled tempering step. Move blocks from the -20°C storage freezer into a 0°C to +2°C holding room for 90 to 120 minutes before slicing. Never use a microwave, never use warm water, and never stack the blocks on the concrete floor of the processing room — the floor conducts heat faster than air and will give you a soft outer crust around a still-frozen core, which causes a different problem (see Root Cause 5). If you do not have a tempering room, build a simple FIFO rack in a 4°C chill room and hold blocks for 3 to 4 hours. The blade life improvement is dramatic: in one plant I serviced in Ohio, average blade life went from 14,000 kg to 31,000 kg of product simply by adding a 105-minute tempering step.
What Causes Feed Speed Exceeding 38 Blocks Per Minute On Dense Product?
The FMS-001 is rated by Esper Foodtech for a maximum feed of 40 blocks per minute on standard 20 kg beef blocks at -10°C. That rating assumes ideal conditions. When the product is denser than standard — heavy pork shoulder blocks, bone-in beef, or blocks with high connective tissue content — the cutting force per tooth rises sharply above 40 N. Above that load, the carbide-tipped teeth on the OEM blade begin to chip at the corners.
To diagnose, watch the ammeter on the main drive motor during a full cutting cycle. Baseline amperage on an empty FMS-001 with the blade spinning freely should be 11 to 13 amps. Under load on standard product, it should sit between 17 and 22 amps. If you see peaks above 28 amps, or sustained readings above 25 amps for more than 0.4 seconds, the feed speed is too high for the product.
The fix is to drop the feed rate by 15 to 20 percent for dense blocks. On the FMS-001, adjust the variable frequency drive on the feed conveyor from the factory default of 60 Hz down to 48 Hz. This brings throughput from 40 blocks per minute to 32 blocks per minute — a real production loss, but cheaper than a blade change every 8 hours. The other option is to switch to a heavier-tooth blade profile (Esper part number BL-FMS-001-HT, 12 teeth instead of 16) which can absorb the higher per-tooth load without chipping.
What Causes Wrong Blade For The Material Being Cut?
Not all frozen meat is the same. A blade designed for boneless beef blocks will chip within an hour if you run bone-in pork ribs through it. The FMS-001 ships from the factory with a general-purpose 16-tooth blade that works for most boneless product at -10°C to -12°C. That same blade is the wrong choice for any of the following:
- Bone-in product of any kind — use the BL-FMS-001-BI bone-in blade with 8 teeth and a 20-degree rake angle.
- High-fat pork belly blocks at -8°C — fat behaves as a lubricant at that temperature and will cause harmonic vibration in a fine-tooth blade; use a 12-tooth mid-profile.
- Cheese blocks (yes, some plants run cheese on the same line) — dairy product grabs the blade face; use a polished, Teflon-coated blade.
- Pre-cooked frozen meat — the protein matrix is stiffer than raw; drop tooth count by one step.
The diagnosis here is to walk the floor and ask the operator what was run on the line before the blade started chipping. If the product mix changed in the previous 24 hours — for example, switching from 90/10 lean beef blocks to 50/50 pork trim — and nobody changed the blade, you have your answer. Keep a written log of which blade profile is mounted for which SKU. The log takes 30 seconds to fill out at blade change and saves thousands of dollars a year in premature blade loss.
What Causes Sharpening Errors And Improper Hone Angle?
Most plants do not own a blade sharpener. They send blades out to a third-party sharpening service. Some of those services do excellent work. Others grind the blade at the wrong angle, remove too much material in one pass, or overheat the steel and destroy the temper. A blade that comes back from sharpening with a blue or straw-colored tint along the cutting edge has been overheated — that blade will chip within the first 200 kg of production.
The OEM specification for the FMS-001 blade is a primary bevel of 22 degrees, a secondary bevel of 30 degrees, and a hone pass on a 600-grit wheel at the very end. If your sharpening service cannot quote you those numbers when you ask, find another service. The other common sharpening error is to remove more than 0.15 mm of material per grinding pass. Anything more than that generates enough heat to draw the temper out of the steel even with coolant.
The fix is to specify the sharpening requirement in writing on every purchase order, to inspect every blade when it comes back with a 10x loupe and a hardness file (Rockwell C 58 to 60 is correct for this blade), and to reject any blade that fails either test. Keep one spare sharpened blade on the shelf at all times so you never feel pressured to mount a blade you have not inspected.
What Causes Blocks With Soft Outer Crust And Frozen Core?
This is the cause that most plant managers do not believe until they see the data. When blocks are tempered too fast — for example, left on a processing room floor at 18°C for 45 minutes — the outer 25 mm of the block thaws to around -2°C while the core is still at -16°C. The blade enters the soft outer layer easily, accelerates, then hits the hard core and shocks. The shock load is what chips the tooth.
To diagnose, core-temperature readings are not enough. You need to take a reading at the surface and at the core, and the difference between the two must not exceed 8°C. If the surface reads -3°C and the core reads -16°C, the temperature gradient is too steep and the block cannot be sliced safely.
The fix is to control the tempering environment carefully. Tempering must happen in a room held between 0°C and +4°C with gentle air movement — not still air, not a high-velocity blast. The block should sit on a plastic pallet, not on a metal rack (metal conducts heat into the bottom of the block faster than air warms the top). And the block should be turned 180 degrees at the halfway point of tempering. The total time at this controlled temperature will be 4 to 6 hours for a standard 20 kg block, longer than most plants want to allow. The alternative is to accept 30 percent shorter blade life.
What Causes Mechanical Misalignment Of The Blade To The Feed Deck?
The blade on the FMS-001 runs with a 0.2 mm clearance to the feed deck lip. If that clearance opens up to 0.4 mm or more — usually because the deck adjustment bolts have walked loose from vibration, or because the deck was removed for cleaning and reinstalled without a feeler gauge check — the blade will flex under load. A flexing blade develops micro-cracks at the tooth gullets within 8 to 12 hours of operation, and those cracks propagate into chips.
To diagnose, you need a 0.2 mm feeler gauge and 15 minutes with the machine locked out and tagged out. Drop the gauge between the blade tooth tip and the deck lip at the 12 o’clock, 3 o’clock, 6 o’clock, and 9 o’clock positions. The gauge should pass with light drag at all four points. If it slides freely at any point, the clearance is too wide. If it will not enter at any point, the clearance is too tight and the blade will rub the deck and overheat.
The fix is to re-shim the deck. The FMS-001 uses 0.05 mm stainless steel shims (Esper part SH-050-SS) under the four deck mounting bolts. Loosen all four, add or remove shims as needed, torque the bolts to 38 Nm in a star pattern, and re-check the clearance. Repeat until the feeler gauge passes correctly at all four points. Train every sanitation worker who removes the deck for cleaning to flag any deck removal so the maintenance team can re-shim before the next production run.
What Causes Hard Foreign Object In The Block?
The last cause is the one nobody wants to admit. Hooks, knife tips, plastic crate fragments, stainless staples from packaging, and even wood splinters from pallets all find their way into frozen blocks. A single 3 mm stainless staple embedded in a beef block will chip two or three teeth on a 16-tooth blade before it is dislodged. A broken boning knife tip — usually 12 mm of hardened steel — will chip every tooth on the blade in a single revolution and may also crack the blade plate.
The diagnosis is to inspect the cutting chamber immediately after the first chip is detected. Look for the foreign object caught in the discharge auger, lodged in the blade housing, or stuck to the magnetic metal detector strip in the feed pan. If you find nothing in the machine, the object may have passed through with the product — in which case the metal detector on the discharge conveyor is your last line of defense and should be tested with a 1.5 mm ferrous test piece at the start and end of every shift.
The fix is upstream and procedural. Open every block visually on the feed pan before slicing. Run a handheld metal detector wand over the block if your HACCP plan allows it. Train receiving staff to reject any incoming block with a damaged wrapper or visible foreign material. And keep the upstream deboning operation separate from the freezing operation so that boning knives, hooks, and gloves never travel into the freezing tunnel.
Blade Life Comparison By Operating Condition
| Operating Condition | Average Blade Life (kg product) | Typical Failure Mode | Recommended Action |
|---|---|---|---|
| Block temp -10°C, feed 32 blocks/min, correct blade | 38,000 to 45,000 | Normal edge wear | Sharpen at scheduled interval |
| Block temp -18°C, no tempering | 9,000 to 14,000 | Multiple tooth chips | Add tempering step immediately |
| Soft crust, frozen core, gradient more than 12°C | 6,000 to 10,000 | Tooth chips in first 30 minutes | Re-train tempering room staff |
| Bone-in product on general-purpose blade | 1,500 to 3,500 | Catastrophic tooth loss in first hour | Switch to BL-FMS-001-BI blade |
| Deck clearance 0.5 mm (out of spec) | 12,000 to 18,000 | Gullet cracking, then chipping | Re-shim deck to 0.2 mm clearance |
| Overheated blade from sharpening service | 500 to 1,200 | Edge micro-fractures across full profile | Reject blade, change supplier |
| Foreign object strike (staple or hook) | Single event, immediate failure | Multiple tooth chips in one revolution | Improve upstream metal detection |
Frequently Asked Questions
How long should a frozen meat slicer blade last on the FMS-001?
Under correct operating conditions — block temperature between -10°C and -12°C at the core, feed rate of 32 to 36 blocks per minute, correct blade profile for the product, and proper deck alignment — a carbide-tipped blade on the FMS-001 should process between 38,000 and 45,000 kg of product before it needs sharpening. With proper sharpening, the same blade should give you six to nine sharpening cycles before it has to be replaced. Total useful life should be 250,000 to 350,000 kg of product. If you are getting less than 20,000 kg per cycle, one of the seven root causes above is at work.
Can I sharpen a chipped blade, or does it have to be replaced?
A blade with one or two small chips under 1.5 mm in length can usually be ground out during a normal sharpening cycle without shortening the blade life meaningfully. A blade with chips between 1.5 mm and 3 mm requires a deeper grind that removes one full sharpening cycle from the blade’s useful life. A blade with any single chip over 3 mm, or with chips on more than four teeth, should be retired — the deeper grind required to clean up the damage will take the blade below minimum tooth depth and the next chipping event will be more severe.
What is the single most cost-effective change I can make to extend blade life?
Add a controlled tempering step. In every plant where I have installed temperature monitoring at the tempering room, blade life has improved by at least 60 percent and in some cases has more than doubled. The capital cost is one calibrated probe thermometer ($120), one tempering room controller upgrade if yours is not already capable of holding 0°C to +4°C ($1,500 to $4,000 depending on the refrigeration contractor), and roughly four hours of operator training. The payback period is usually under three weeks.
Is the FMS-001 more prone to blade chipping than other brands?
No. The FMS-001 uses the same general design philosophy as the Urschel Affinity, the Treif Vulcan, and the Weber 602. All four machines can deliver 40,000-plus kg of blade life when operated correctly. The differences I see in the field come down to operator training and process discipline, not machine design. The one advantage the FMS-001 has is the external deck shim access, which lets you correct deck clearance in 15 minutes instead of the 90 minutes it takes on a Weber.
What should I do the moment I detect a chip while the line is running?
Stop the feed conveyor immediately. Let the blade coast to a complete stop. Lock out and tag out the machine. Remove the blade and inspect every tooth under 10x magnification. Inspect the cutting chamber, the discharge auger, and the magnetic strip for any chips or fragments. Run the next 30 kg of product through the metal detector on quarantine hold. Document the event with photographs. Only then mount a known-good spare blade and resume production. Total downtime should be 25 to 35 minutes.
How do I train operators to spot the early warning signs?
Two simple drills. First, have every new operator listen to a blade running on a known-good block for one full minute, then introduce them to the “tic” sound of a chipped tooth on the same machine. The audio difference is unmistakable once heard. Second, teach them the 30-slice weight check: pull 30 consecutive slices, weigh them on a calibrated scale, and calculate the standard deviation. A standard deviation below 4 percent of the mean is normal. Above 7 percent is a flashing red light that something has changed — usually a chip.
Get Field Support For Your Frozen Meat Slicer
If you are operating a frozen meat slicer and you are replacing blades more often than every 30,000 kg of product, you are leaving money on the table. The Esper Foodtech engineering team supports FMS-001 operators worldwide with on-site diagnosis, blade profile selection, sharpening service specifications, and operator training. Send your blade life numbers, your product mix, and your block temperature readings to [email protected] and we will send you a written diagnosis with a prioritized action list within two business days. Do not wait for the next chip — most blade damage is preventable, and the fix is almost always cheaper than the failure.
Looking for the right machine for your meat processing line? Browse all Esper meat processing machines — 26 models across slaughtering, cutting, grinding, and smoking applications.