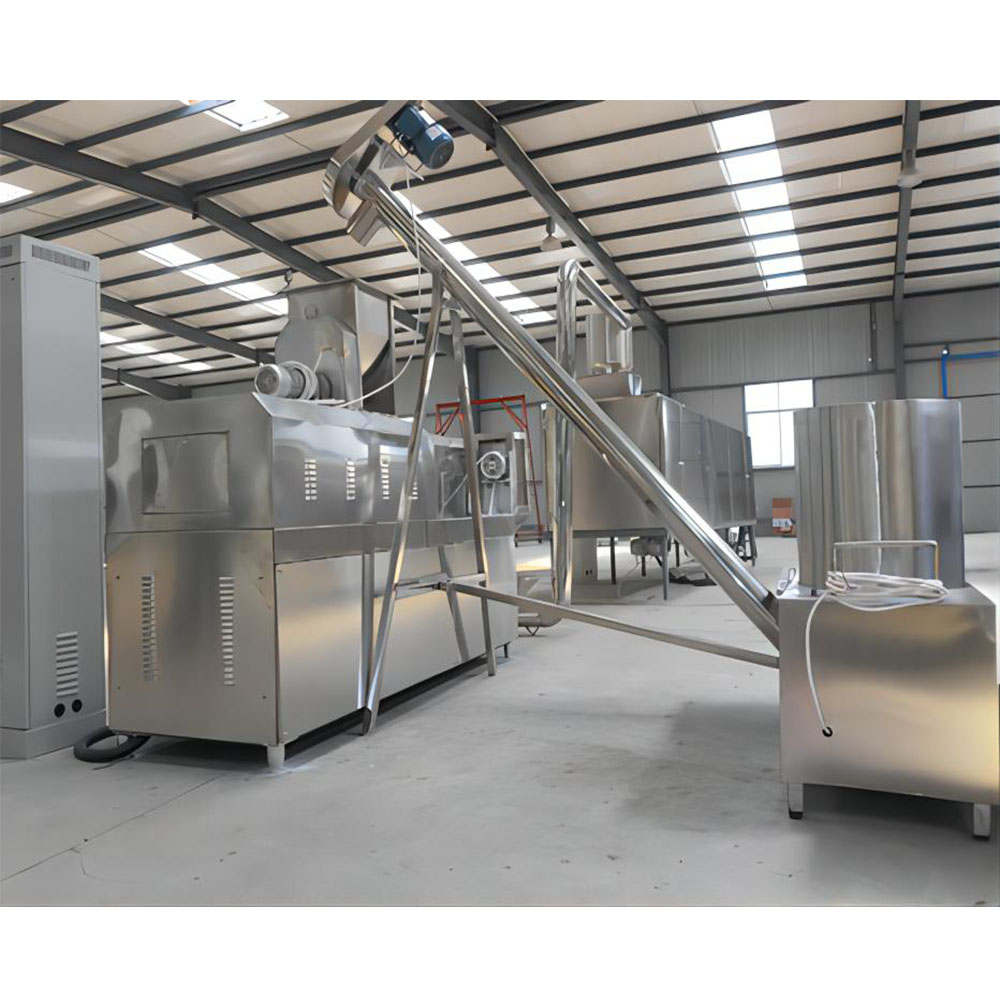
Peanut Roaster Uneven Roasting: Diagnosis and Fix
Uneven roasting on a continuous drum peanut roaster is the single most common reason processors call us during the October through December peak season. When kernels exit the drum with split color — one side blonde and raw, the other dark and oily — the problem is almost never the peanuts themselves. In roughly 90 percent of the field service calls I have run on NRM-001 and RSP-001 series roasters over the past eight seasons, the root cause traces back to five mechanical or thermal faults that you can diagnose yourself in under two hours. This guide walks you through each one with the exact numbers, tools, and replacement parts you need to get back to a uniform 28 to 30 Hunter L color score across the entire batch.
Symptom Checklist — Confirm You Have a Real Uniformity Problem
Before tearing the machine down, walk the line and confirm at least three of the following symptoms are present on two consecutive batches. A single bad batch can be a green-peanut moisture issue, not a machine fault.
- Color variance greater than 2.5 Hunter L points between kernels sampled from the left, center, and right of the discharge conveyor
- Dark streaks or scorched tips appearing on more than 8 percent of kernels in a 200-gram sample
- Drum skin temperature differential greater than 15°C (27°F) between the burner end and the discharge end when measured with a contact pyrometer
- Discharge peanuts showing oil migration on some kernels while others look dry and chalky
- Batch-to-batch roast time drifting more than 45 seconds for the same setpoint and batch size
- Burner short-cycling — firing more than four times per minute at steady state
- Exhaust stack temperature dropping below 180°C (356°F) at full load, indicating plugged heat exchanger tubes
Root Cause 1 — Drum Speed Drift from Worn Variable Frequency Drive Parameters
The number-one cause of uneven roasting on the NRM-001 and RSP-001 is drum RPM that has drifted outside the 11 to 13 RPM window. The drum speed directly controls residence time, and a drop of just 1.5 RPM adds 90 seconds of roast time — enough to push a 28 L score down to a 22 L score on the discharge end while the infeed end stays under-roasted because the bed depth has also changed.
Drift typically comes from a VFD that has lost its programmed parameters after a power surge, a drive belt that has stretched past its service limit, or an encoder on the motor shaft that is reporting a false speed back to the PLC. I see this fault most often on machines that have been running 18 months or more without a belt change.
Diagnosis steps:
- Open the rear drum inspection port and mark one flight with white paint pen
- Use a handheld contact tachometer (Omega HHM90 or equivalent) on the drum drive shaft — not the motor shaft
- Target reading is 12.0 RPM plus or minus 0.3 RPM for the NRM-001, and 11.5 RPM for the RSP-001 because of its larger drum diameter
- If the reading is more than 0.5 RPM off, check the VFD parameter P0-07 (reference frequency) and P0-10 (acceleration time)
- Inspect the drive belt for cracks, glazing, or deflection greater than 12 mm when pressed with 5 kg of force midway between the sheaves
Fix: Reprogram the VFD to the factory setpoints, then replace the drive belt with OEM part NRM-BELT-014 (B-section, 1422 mm) or RSP-BELT-021 (3VX, 1753 mm). Re-tension to give 8 mm of deflection at 5 kg. After replacement, log drum RPM every 15 minutes for the first two batches to confirm stability.
Root Cause 2 — Burner Orifice Misadjustment and Flame Pattern Asymmetry
On gas-fired NRM-001 roasters, uneven roasting almost always traces back to a burner that is firing harder on one side of the drum than the other. The result is a hot stripe along the drum skin that scorches peanuts passing over the top of the drum in that quadrant, while peanuts on the cool side come out under-roasted. The RSP-001 uses a slightly different ribbon burner, but the diagnosis is identical.
The most common cause is a burner orifice that has been knocked out of alignment during cleaning, a cracked refractory plate that is directing flame asymmetrically, or a partially plugged orifice on one side of the burner bar. Propane-fired roasters are more sensitive to this than natural gas units because propane burns hotter and the orifices are smaller in diameter.
Diagnosis steps:
- Shut down the roaster, lock out the gas valve, and remove the burner access panel on the infeed end
- Measure flame length at each of the 24 burner ports — they should be 35 to 40 mm long and uniform blue with a well-defined inner cone
- Any port with a flame shorter than 25 mm or longer than 50 mm indicates a blocked or eroded orifice
- Use a calibrated infrared thermometer to scan the drum skin in a 12-point grid pattern at operating temperature — the spread across the grid should not exceed 12°C (22°F)
- Check gas manifold pressure at the test port with a U-tube manometer — natural gas should read 178 mm water column (7.0 inches), propane should read 254 mm (10.0 inches)
Fix: Clear blocked orifices with a 0.8 mm brass cleaning wire — never use steel, which will score the orifice and change the flow rate. Realign the burner bar so the flame cone tips are 18 mm from the drum skin. Replace any orifice showing erosion larger than 5 percent of its original diameter (OEM part NRM-ORIF-024). After reassembly, fire the burner and re-scan the drum skin grid before reloading product.
Root Cause 3 — Overloading the Drum Past Rated Batch Capacity
Operators routinely push the batch size up to chase throughput, and on paper the NRM-001 will accept 280 kg per batch and the RSP-001 will accept 340 kg. But those rated capacities assume 8 percent raw peanut moisture and a consistent 9.5 mm kernel size. When operators load 310 kg into an NRM-001, or when the incoming peanuts are running 11 percent moisture because the season has been wet, the drum cannot move the bed evenly and the peanuts in the center of the bed never see the drum skin for even heat transfer.
This is the easiest fault to diagnose but the hardest to fix because it requires changing operator behavior, not a part. I have walked into plants where three consecutive shifts had been running 310 kg batches and the lead operator did not even know the rated capacity was 280 kg.
Diagnosis steps:
- Watch the loading auger and confirm the operator is not stopping the load above 280 kg on the NRM-001 or 340 kg on the RSP-001
- Open the inspection port at the midpoint of the drum during operation — the bed depth should not cover more than 30 percent of the drum diameter, equivalent to roughly 230 mm of fill on the NRM-001 and 260 mm on the RSP-001
- Pull a sample from the center of the discharge stream and check for the telltale compressed, sticky appearance that indicates the peanuts were packed too tight to tumble freely
- Check raw peanut moisture with a calibrated moisture meter — anything above 9.5 percent means you must reduce batch size by 5 kg for each full percentage point of moisture above 8 percent
Fix: Reduce the batch weight to the rated capacity and post a laminated batch-size placard on the control panel. If moisture is consistently above 10 percent in your region during harvest, add a 90-second pre-dry at 110°C (230°F) before ramping to the full roast profile. Throughput will drop 6 to 8 percent, but uniformity will recover within two batches.
Root Cause 4 — Thermocouple Calibration Drift and Cold Junction Error
The Type K thermocouples on the NRM-001 and RSP-001 control the entire roast profile, and a thermocouple that reads 12°C low will silently run your roaster 12°C hotter than the setpoint. The result is an oily, dark roast that comes out fast and uneven because the outer bed of peanuts scorches while the inner bed is still catching up. Type K thermocouples drift with age, especially in the 180 to 220°C range where peanut roasters run continuously.
I recommend calibrating the drum thermocouples every 90 days on a single-shift operation and every 45 days on a two-shift operation. Most plants I service have never calibrated them since commissioning, and three out of five units I check are reading 8 to 15°C off true temperature.
Diagnosis steps:
- Order or borrow a NIST-traceable reference thermocouple with a current calibration certificate
- Insert the reference probe and the machine probe into a stirred oil bath at 180°C (356°F) and let them equilibrate for 8 minutes
- Compare the readings — any deviation greater than plus or minus 3°C means the probe must be replaced, not just offset in the PLC
- Inspect the thermocouple sheath for scale buildup, which acts as an insulator and slows response time — a healthy probe should reach 63 percent of a step change in less than 4 seconds
- Check the thermocouple extension wire for any splice joints, which create a second cold junction and add error proportional to the temperature difference at the splice
Fix: Replace drifted probes with OEM part NRM-TC-012 (Type K, Inconel sheath, 300 mm immersed length). Program the PLC temperature offset only if the deviation is less than 3°C — anything larger requires replacement. Route new extension wire as a continuous run from the probe to the PLC terminal block with no splices, and use the correct Type KX compensating alloy, not generic copper.
Root Cause 5 — Plugged Heat Exchanger Tubes and Restricted Exhaust Flow
The drum on the RSP-001 is heated indirectly through a shell-and-tube heat exchanger, and the peanut oil and chaff that come off the roasting peanuts slowly plate onto the inside of the tubes. Over the course of a season, this buildup reduces the exhaust flow rate, which in turn reduces the heat input to the drum and creates cold spots at the discharge end of the drum. The NRM-001 direct-fired variant has a similar issue with its exhaust stack, but the fault shows up as a back-pressure issue rather than a heat transfer issue.
This fault creeps in slowly, so operators often do not notice it until the discharge peanuts are noticeably under-roasted and the operator has already cranked the burner setpoint 15°C higher than normal to compensate. By the time that happens, the tubes are usually 60 percent occluded and require mechanical cleaning.
Diagnosis steps:
- Measure exhaust stack temperature at full load — should be 200 to 230°C (392 to 446°F) on the RSP-001; anything below 180°C indicates restricted flow
- Measure static pressure in the exhaust plenum with a magnehelic gauge — should read negative 380 to negative 450 Pa at full load; less negative than negative 300 Pa indicates blocked tubes
- Pull the inspection cover on the heat exchanger and use a bore scope to inspect the tube ends — chaff buildup greater than 3 mm thick requires cleaning
- Check the combustion air fan amperage against the nameplate rating — a fan working against restricted flow will draw 15 to 25 percent higher amperage
Fix: Brush the tubes with the OEM nylon brush kit RSP-HX-BRUSH-018 — never use steel, which will scratch the tube wall and accelerate future buildup. For severe buildup, contract a professional boiler service to perform a controlled chemical wash. After cleaning, re-test exhaust flow and reset the burner setpoint back to the original profile if the operator had been compensating.
Root Cause 6 — Drum Flight Wear and Pitted Drum Skin
The internal flights on a peanut roaster drum are what lift the peanuts and tumble them through the hot gas stream. When the flights wear down or the drum skin becomes pitted from years of operation, the peanuts no longer tumble in a uniform curtain — they slide along the bottom of the drum in a packed bed and roast unevenly. This fault shows up gradually over seasons rather than weeks.
On a healthy NRM-001 drum, the four flights are 65 mm tall and have a 6 mm thick wear lip welded along the leading edge. When the lip wears down to less than 3 mm or the flight itself is under 55 mm tall, the tumbling action is compromised. The drum skin should also be smooth to the touch; any pitting deeper than 1.5 mm will collect chaff and create hot spots.
Diagnosis steps:
- Shut down and lock out the roaster, allow the drum to cool below 40°C (104°F), and enter through the rear inspection port with a bright work light
- Measure flight height at three points along the drum length with a steel ruler — anything under 55 mm means the drum needs reflighting
- Run a fingernail across the drum skin — if it catches on pitting, measure pit depth with a depth gauge
- Inspect the leading edge of each flight for a worn or missing wear lip
Fix: Re-weld the flights with OEM replaceable wear lips (part NRM-FLIGHT-LIP-008) and re-surface the drum skin if pitting exceeds 1.5 mm. Full drum relining is a 16-hour shop job that should be scheduled into your annual maintenance window. After reflighting, expect a 4 to 6 percent increase in motor amperage as the drum bed begins to tumble properly again.
Peanut Roaster Diagnostic Quick Reference Table
| Symptom Observed at Discharge | Most Likely Root Cause | Diagnostic Reading That Confirms It | Required Fix |
|---|---|---|---|
| One side of the discharge conveyor dark, the other blonde | Burner orifice misalignment or blocked port | Drum skin temperature spread greater than 12°C across 12-point grid | Clean orifices with 0.8 mm brass wire, realign burner bar |
| Entire batch darker than spec, oily sheen on kernels | Thermocouple calibration drift | Reference probe reads more than 3°C different from machine probe at 180°C | Replace thermocouple, rewire extension with no splices |
| Entire batch lighter than spec, raw interior when kernels are split | Drum speed too fast, residence time too short | Tachometer reads above 12.5 RPM on NRM-001 or above 12.0 RPM on RSP-001 | Reprogram VFD parameters P0-07 and P0-10 to factory setpoints |
| Center of bed under-roasted, outer kernels correct | Batch overloaded past rated capacity | Bed depth greater than 30 percent of drum diameter at midpoint inspection port | Reduce batch weight to 280 kg NRM-001 or 340 kg RSP-001 |
| Gradual trend toward under-roast over weeks, despite higher setpoint | Plugged heat exchanger tubes on RSP-001 | Exhaust temperature below 180°C, plenum pressure less negative than negative 300 Pa | Brush clean with nylon kit, contract chemical wash if more than 60 percent occluded |
| Streaky, uneven color with poor kernel flow from drum | Worn flights or pitted drum skin | Flight height under 55 mm or pitting deeper than 1.5 mm on bore scope inspection | Replace wear lips, re-surface drum skin in next maintenance window |
| Random dark kernels scattered through otherwise correct batch | Burner short-cycling from gas pressure regulator fault | Burner firing more than four times per minute at steady state | Replace regulator, check gas manifold pressure at test port |
In my experience, nine out of ten “uneven roast” service calls on the NRM-001 and RSP-001 come down to one of two things: the operator is overloading the drum, or nobody has calibrated the thermocouples in the past year. Fix those two and most plants never need to call us back.
Frequently Asked Questions
How often should I calibrate the drum thermocouples on my peanut roaster?
Calibrate every 90 days on a single-shift operation and every 45 days on a two-shift operation. Type K thermocouples drift fastest in the 180 to 220°C operating range, and a drift of 10°C is enough to put you outside the acceptable Hunter L color window. Always use a NIST-traceable reference probe and a stirred oil bath, never a boiling water test, which only checks 100°C.
What is the correct drum RPM for the NRM-001 versus the RSP-001?
The NRM-001 should run at 12.0 RPM plus or minus 0.3 RPM. The RSP-001 runs slightly slower at 11.5 RPM because its drum diameter is larger and the longer residence time per revolution compensates. Always measure RPM at the drum drive shaft with a contact tachometer, not at the motor shaft, because belt slip can hide a real drum speed problem from a motor-shaft reading.
Can I reduce batch size to fix uneven roasting, or do I need to fix the machine first?
Reducing batch size is a legitimate temporary fix and is often the correct first move. If your raw peanut moisture is running above 10 percent at harvest, drop the batch weight by 5 kg per percentage point of moisture above 8 percent. But if reducing batch size does not restore uniformity within two batches, you have a mechanical fault — most likely thermocouple drift, burner orifice blockage, or plugged heat exchanger tubes — and reducing the batch size will only mask the symptom.
Why do my peanuts come out oily when the setpoint has not changed?
Oily peanuts at the discharge mean oil is migrating out of the kernel, which happens above roughly 175°C internal kernel temperature. If your setpoint has not changed but the peanuts are oily, the actual drum temperature is higher than the displayed temperature — a classic sign of thermocouple drift. Pull the probe, test it against a reference, and replace it if it reads more than 3°C off the reference at 180°C.
How do I know if my burner orifices need cleaning or replacement?
Inspect the flame pattern at each of the 24 burner ports. Healthy flames are 35 to 40 mm long, blue, with a well-defined inner cone. Any port with a flame shorter than 25 mm is blocked and can be cleared with a 0.8 mm brass wire. Any port with a flame longer than 50 mm has an eroded orifice and requires replacement (OEM part NRM-ORIF-024). Never use steel wire to clean an orifice — it will scratch the brass and permanently change the flow rate.
What is the fastest way to tell drum speed drift from thermocouple drift without instruments?
Pull samples from the infeed third, middle third, and discharge third of the drum at the next shutdown. If the infeed sample is over-roasted and the discharge sample is under-roasted, the drum is running too slow. If the entire batch is shifted dark or oily, the thermocouple has drifted low. If only the center of the batch is under-roasted, the drum is overloaded. This sampling trick will not give you exact numbers, but it will tell you which diagnostic path to walk first before you reach for any tools.
Need Help Diagnosing Your Uneven Roast?
If you have worked through this guide and your NRM-001 or RSP-001 is still producing uneven roasts, the fastest path to resolution is to email me directly with three pieces of information: a photo of your last roast sample spread on white paper, a photo of your control panel showing the current setpoints and drum RPM, and the machine serial number off the data plate. I will respond within one business day with a specific diagnostic plan and, if needed, a field service call to your plant.
Reach me at [email protected] and include “Peanut Roaster Uneven Roast” in the subject line so I can route it to the right engineer. Esper Foodtech stocks replacement thermocouples, drive belts, burner orifices, and flight wear lips for same-week shipment on the NRM and RSP series, so downtime on your peanut line should never exceed a single production day.
Learn more: cooking oil processing applications
Get a quote: [email protected]